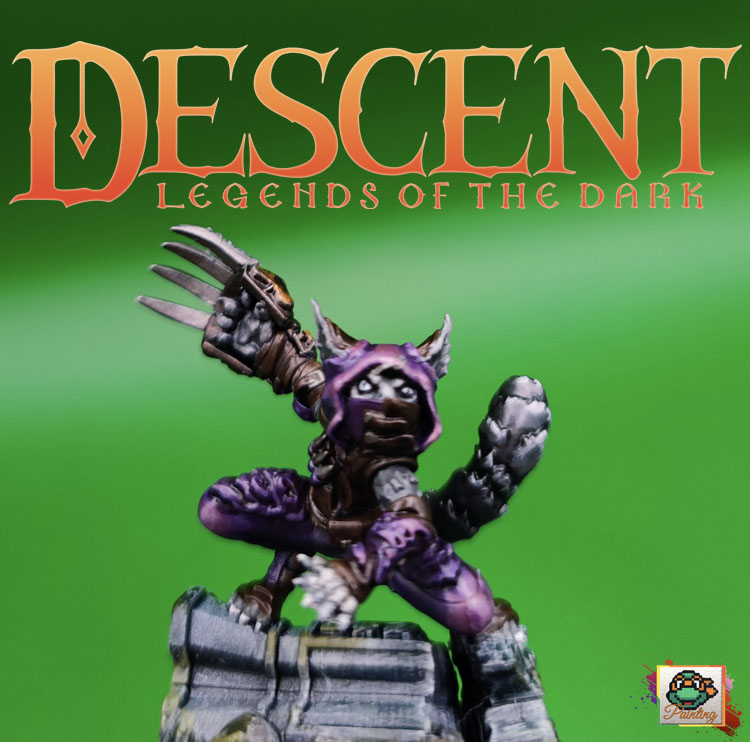
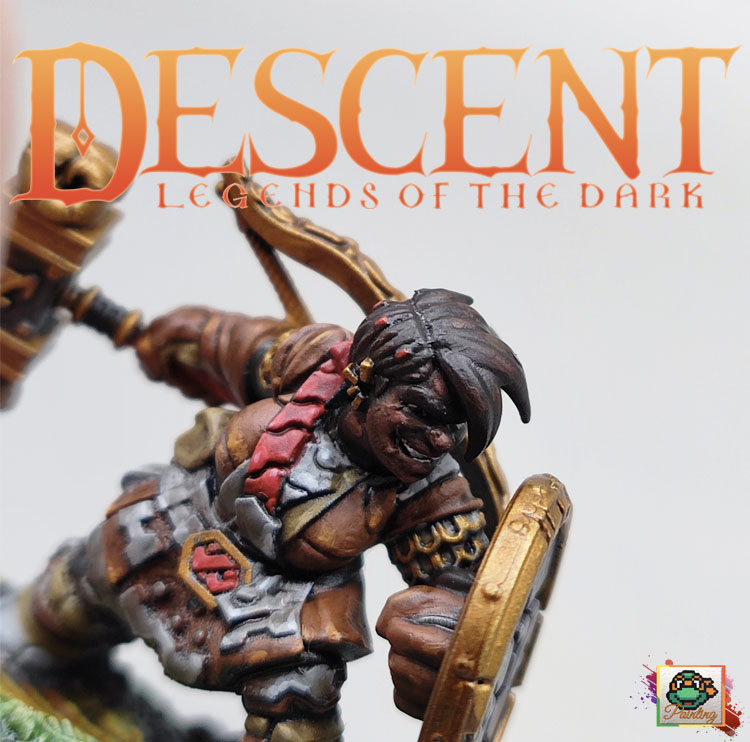
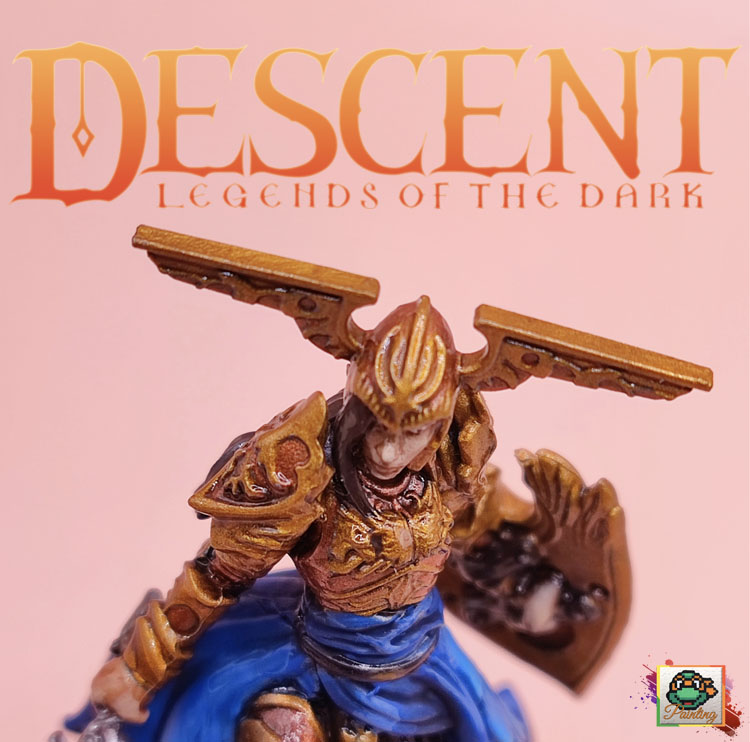
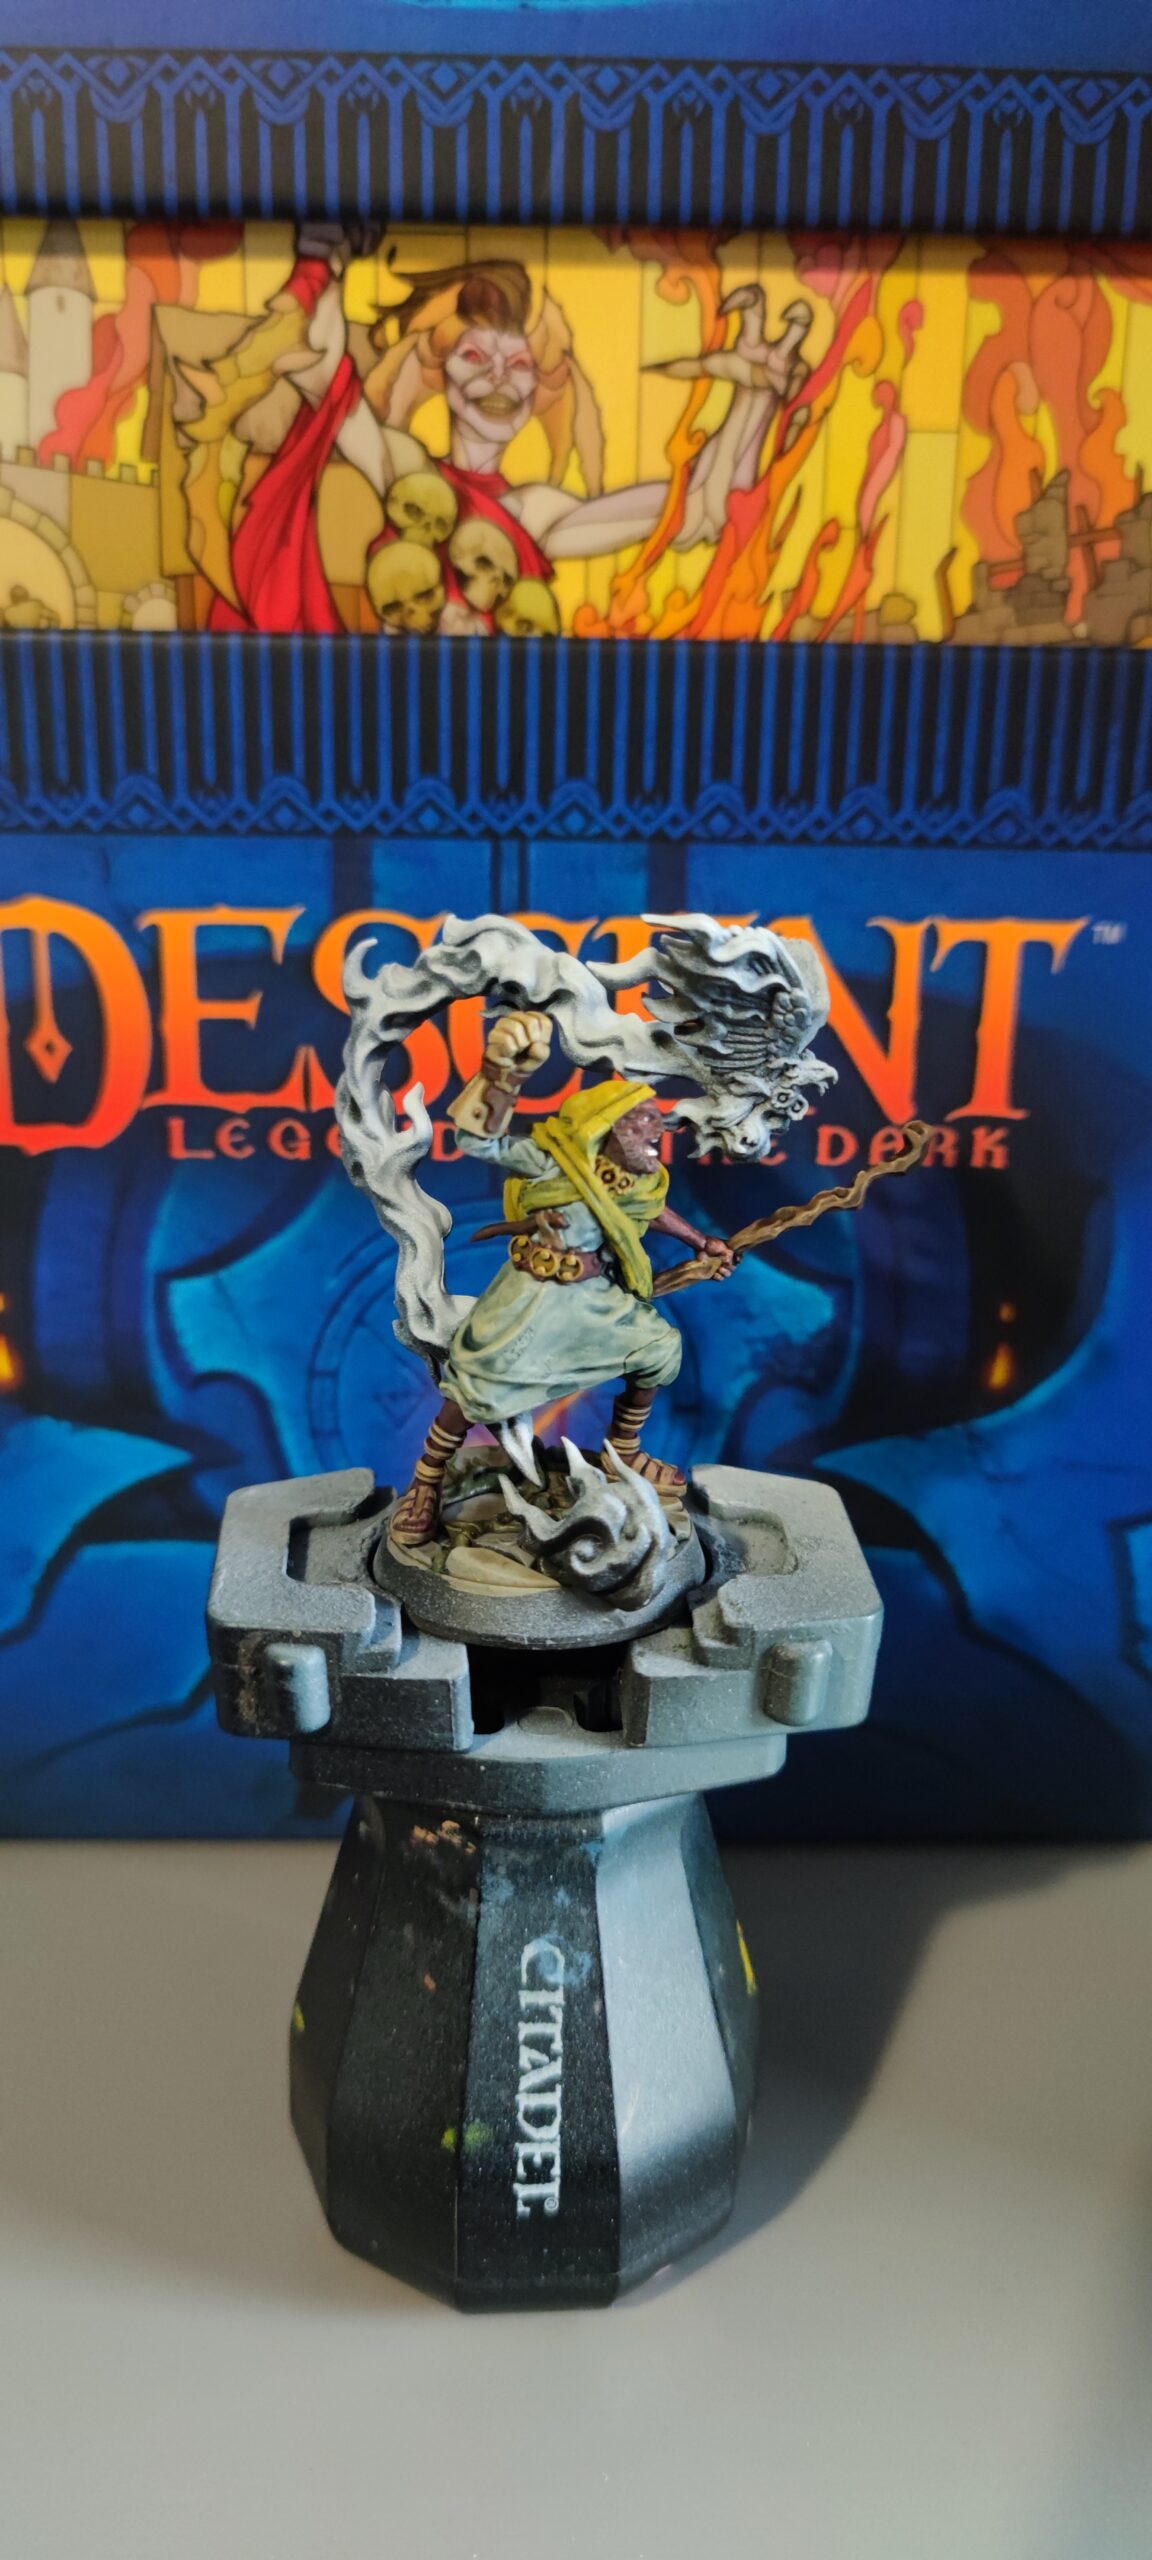
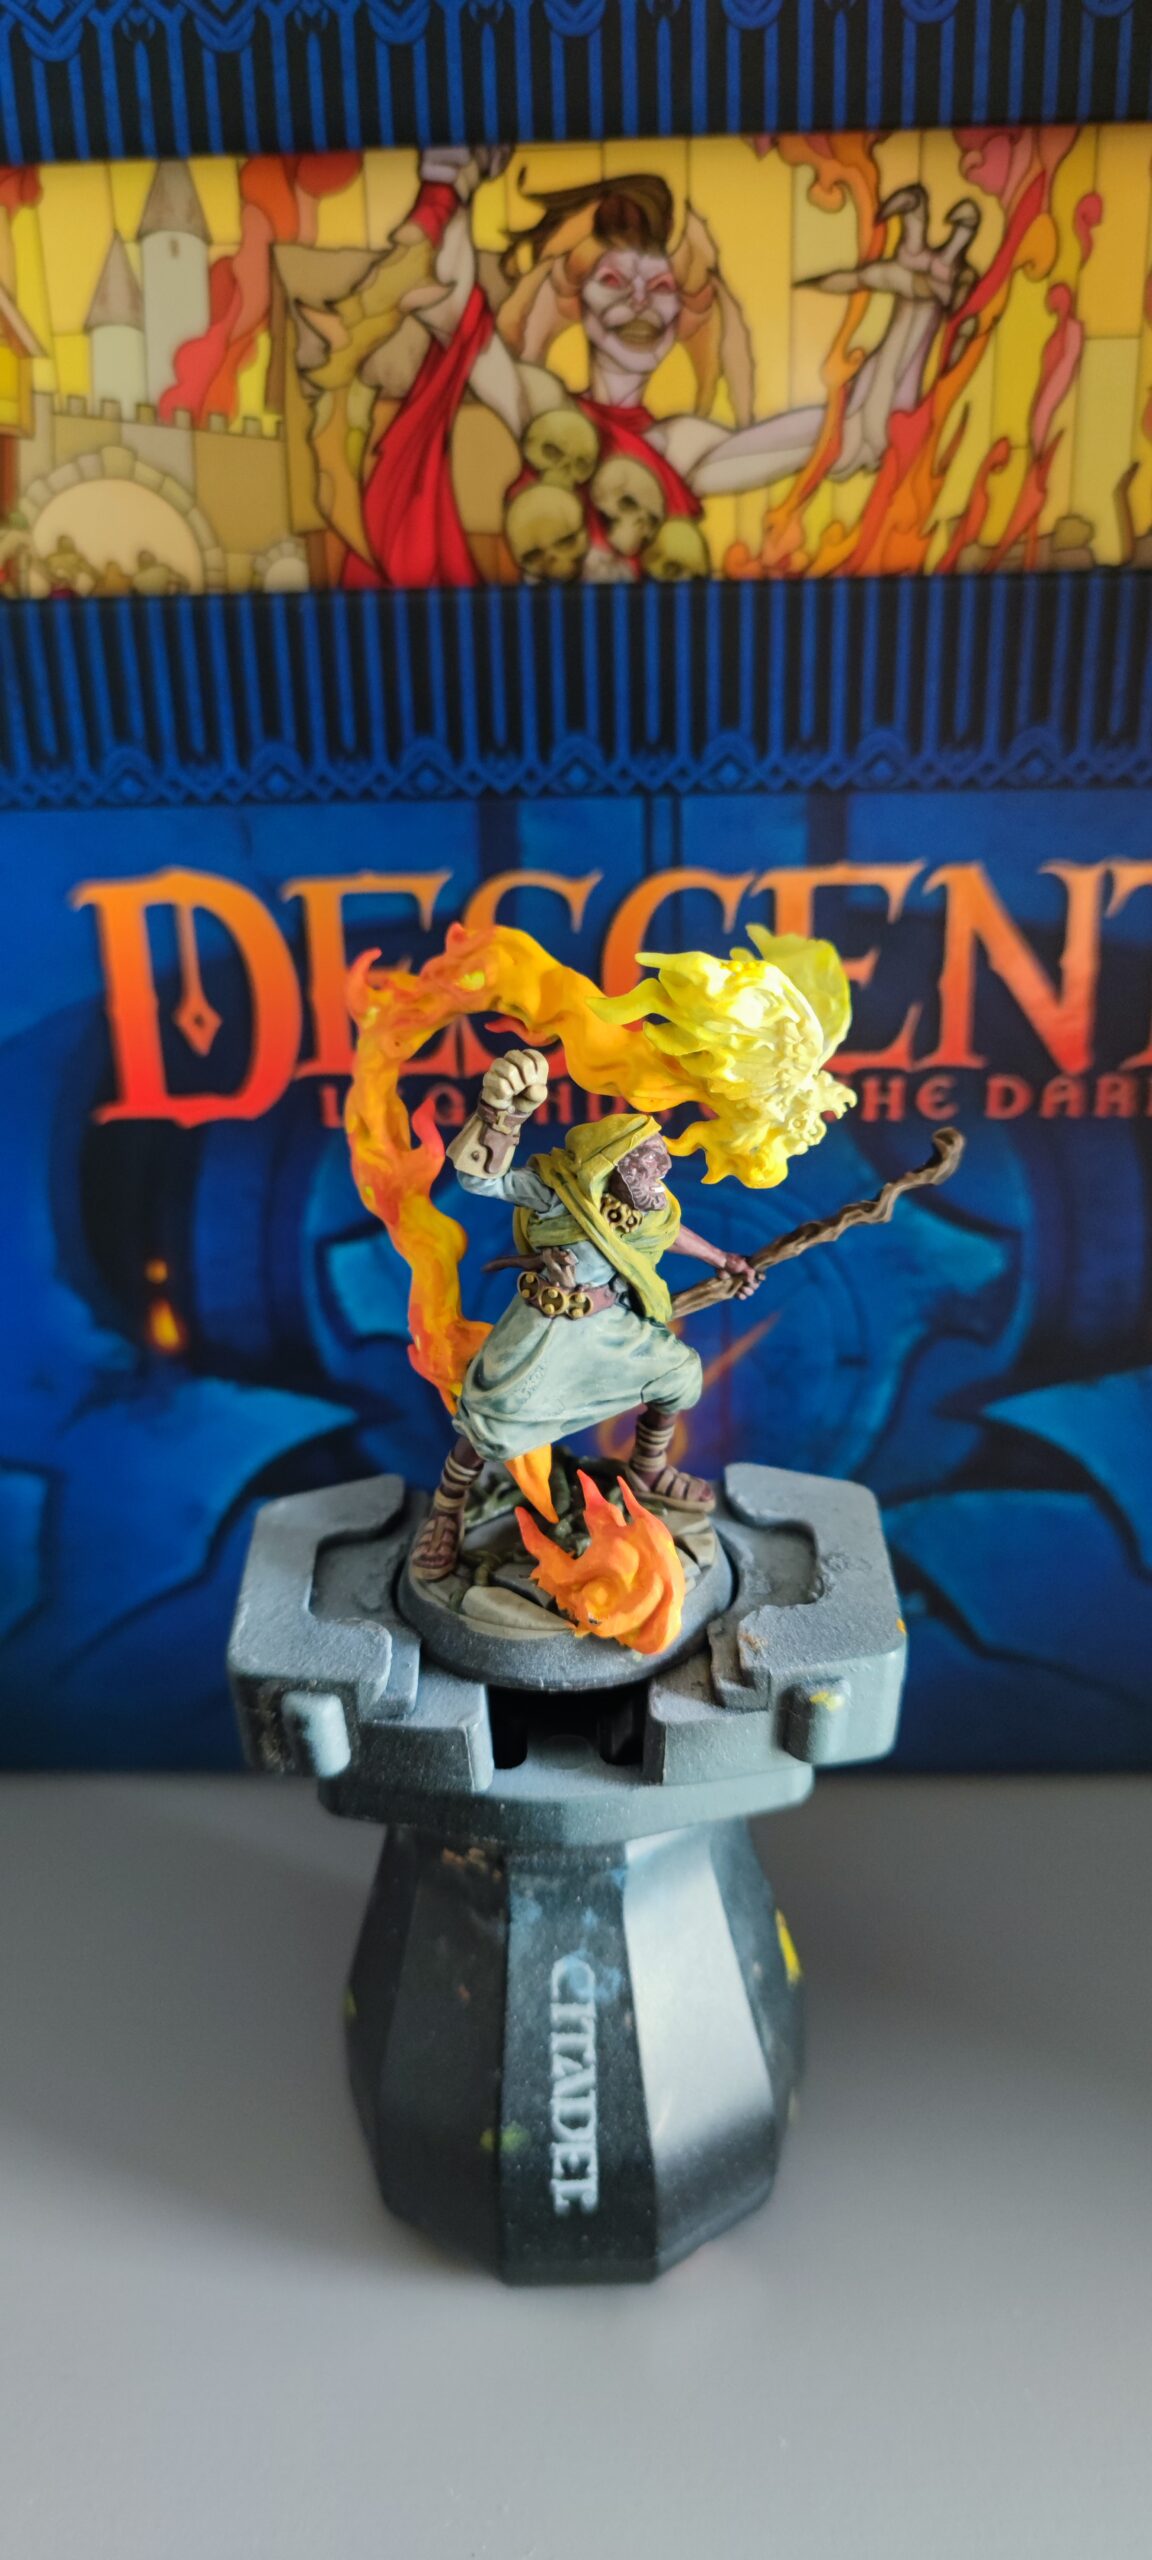
The Berserker & the Blood Witch
The Berserker & the Blood Witch – from Descent Legends of the Dark
The Berserker & the Blood Witch are very similar in colours, that’s the reason why I decided to paint them all together in the same session. Still, The Berserker & the Blood Witch both have the same skin and also the clothing are almost identical – of course this is my personal interpretation, but truly I’d rather paint a big batch that basically the same miniature in two different sessions – that’s me!
Both the minis have a strong pose and it’s important not to flat all the details you can find here and there looking at the figures closely. They both have skulls and red drapes. Bones-coloured details and weapons… I am still failing to find differences!
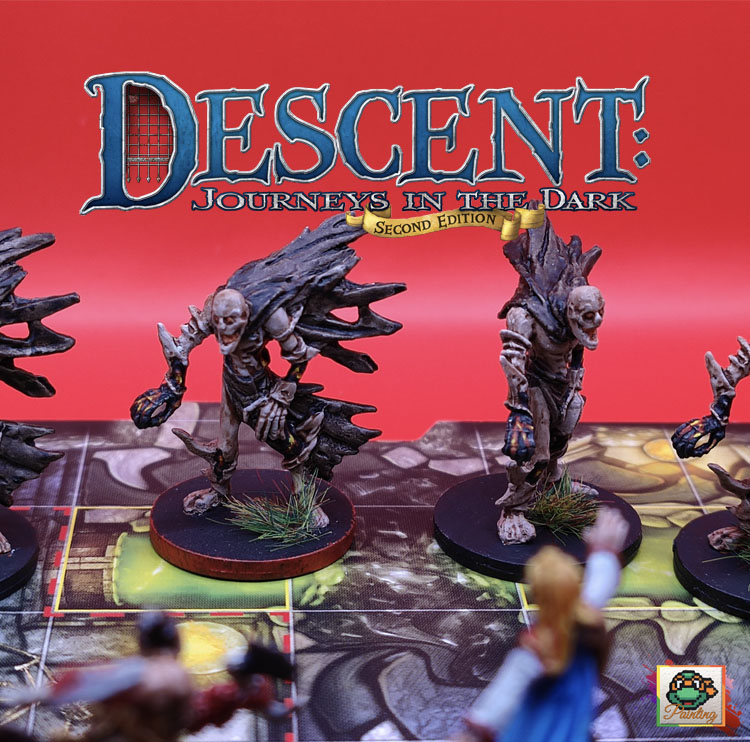
On the other hand, I like painting in batch, but this is making a very big batch and it can get boring. I did a large batch in the past (the zombies, for example from Descent Journeys in the Dark), but they were smaller – and I was younger too. Maybe if I could add some variety to The Berserker & the Blood Witch, this would have been a little more enjoyable, but it wasn’t.
Still, from the figures point of you, they are very well made and full of details – be careful no to miss any!
BTW, I can’t wait for The Betrayer’s War to be out!
Have a look at the gallery:


Paint List
Abaddon Black
Basilicanum Grey
Agrax Earthshade
Morghast Bone
Guilliman Flesh
Skeleton Horde
Flesh Tearers
Red Rakarth Flesh
Mephiston Red
Wild Rider Red
Rhinox Hide
Pink Horror
Emperor's Children
Retributor Armour
Carroburg Crimson
Screaming Skull
Liberator Gold